Web ready SVG images with Photoshop and Illustrator
This post is about creating SVG images ready for the web via photoshop with illustrator. Its aimed at people who have a photoshop image ready but dont know how to replicate in illustrator.
Outline the layer you want using lasso, then change to the paths tab and select Make work path from selection 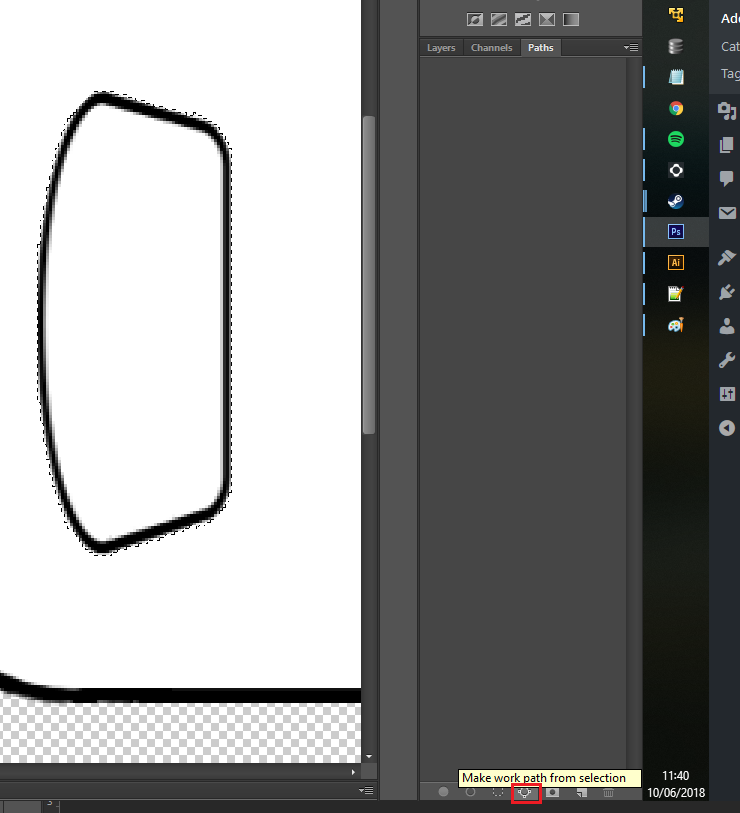
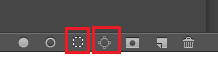
If you are not happy with the work path, you can convert the path back to a selection and try again. Use the two options next to the make work path from selection buttons. 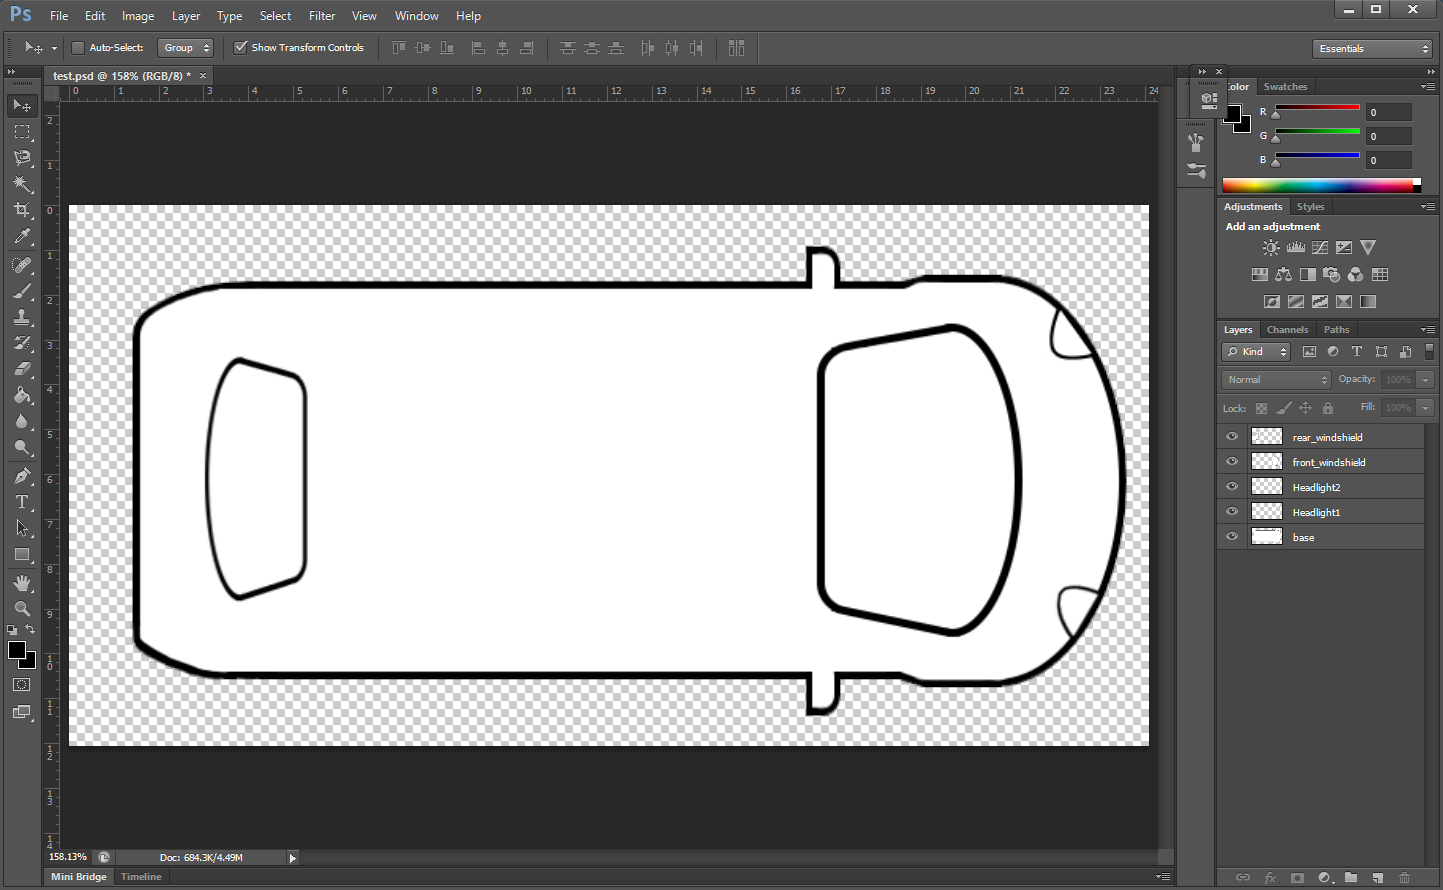
 When you are happy, click the dropdown on the paths menu and save the work path as something relevant.
 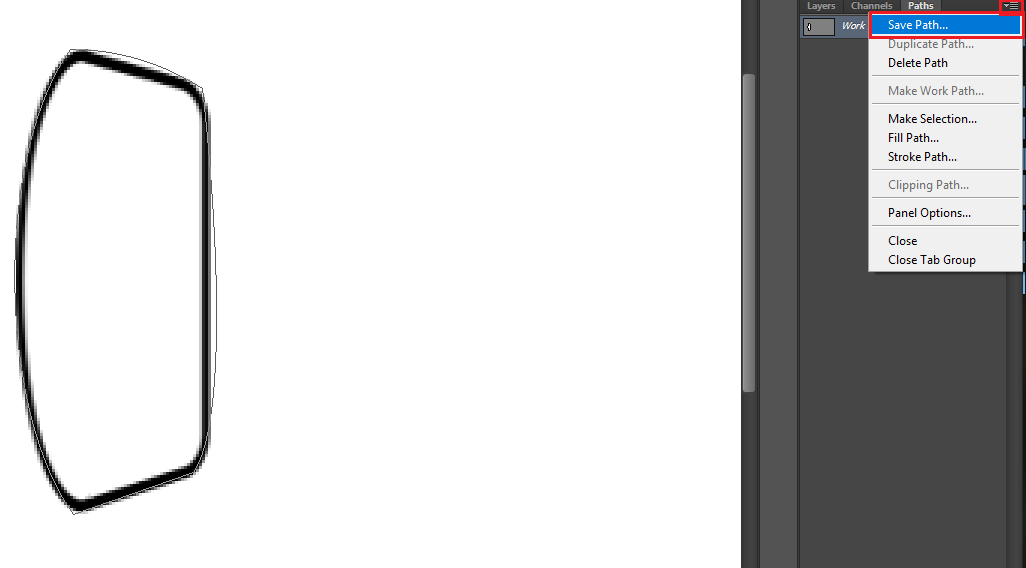 Repeat the process for each layer.
If you cant get a path quite right, you can manually edit the path by selecting the path then holding CRTL and clicking on the path. You can then also use the pen tool to add points to the path to make the outline more accurate. 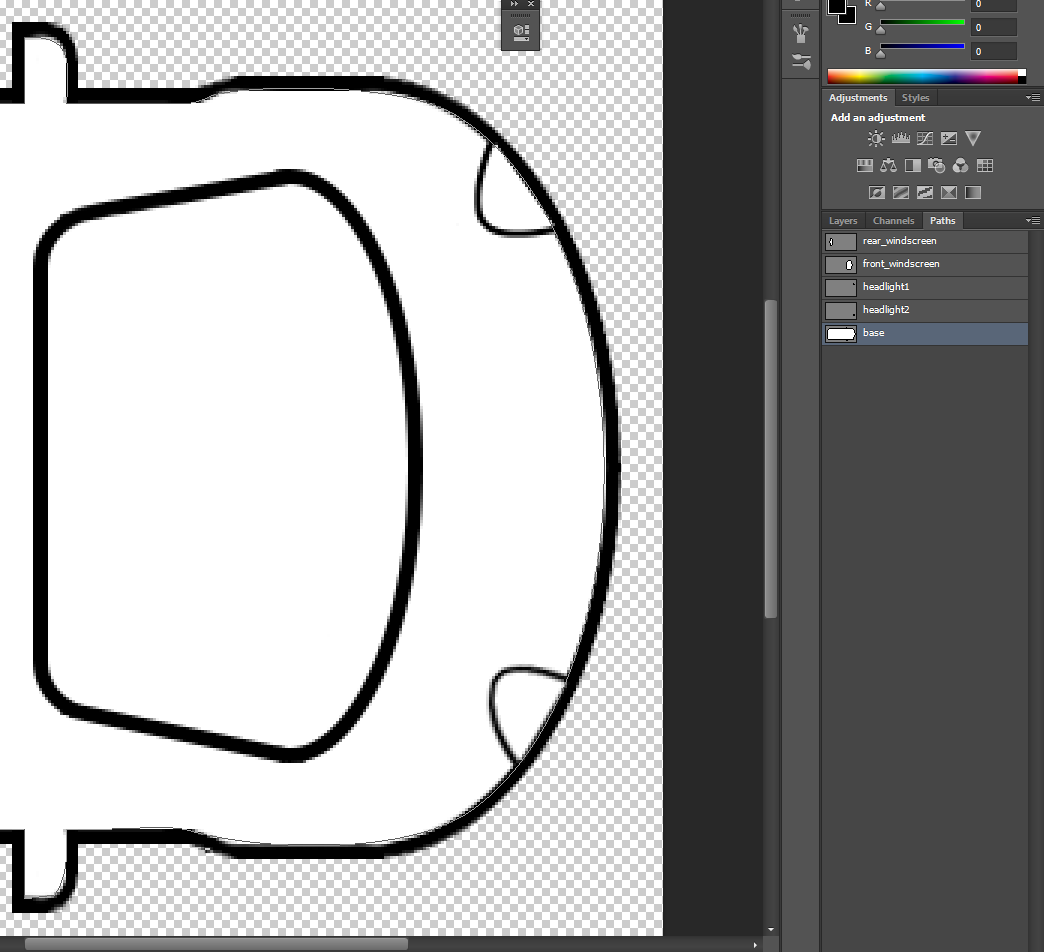
Once you have all of your paths mapped, go to File, Export, Paths to illustrator. Select All Paths then save the illustrator file and open in Adobe Illustrator. 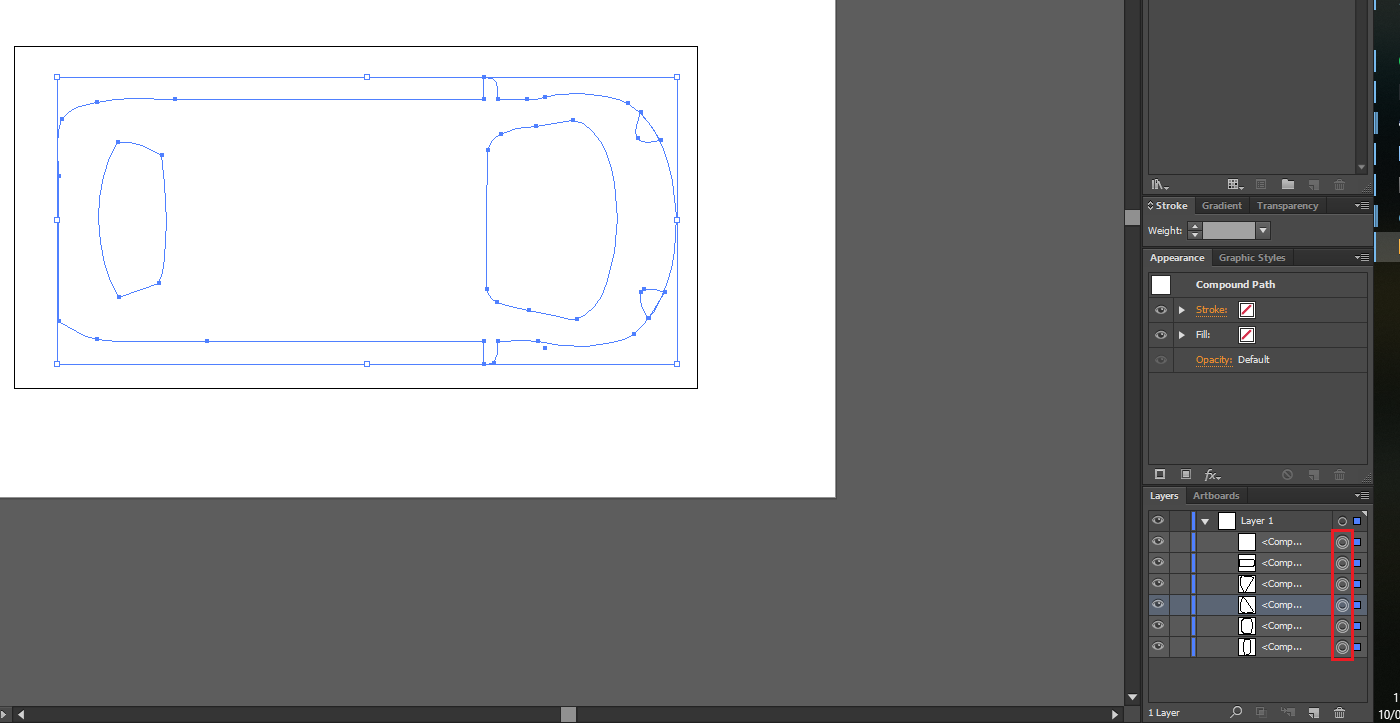
Expand the layer, hold CTRL and select the circle on each path. You should then see your outline appear. I recommend renaming each path to something sensible, this will give each element an ID which will make life easier if you want to change a specific element with CSS. Also delete any blank layers that arent used. 
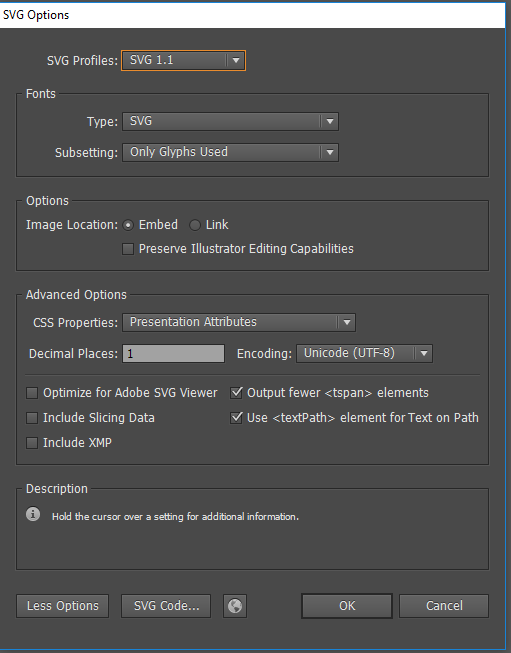
Select File> SaveAs and select SVG. In the options menu, select more options and make sure you select CSS properties as Presentation Attributes and put decimal places as 1. Decimal places set how accurate the vector images are, but the visible difference is negligible at the cost of large file sizes; so set it to 1.
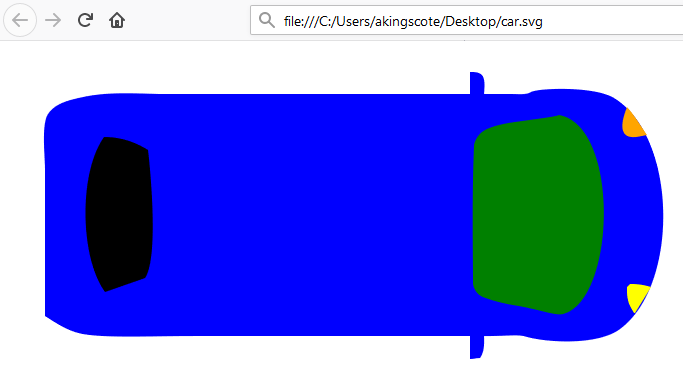
Next, open the file in a text editor. You should be able to edit the fill attribute like this: 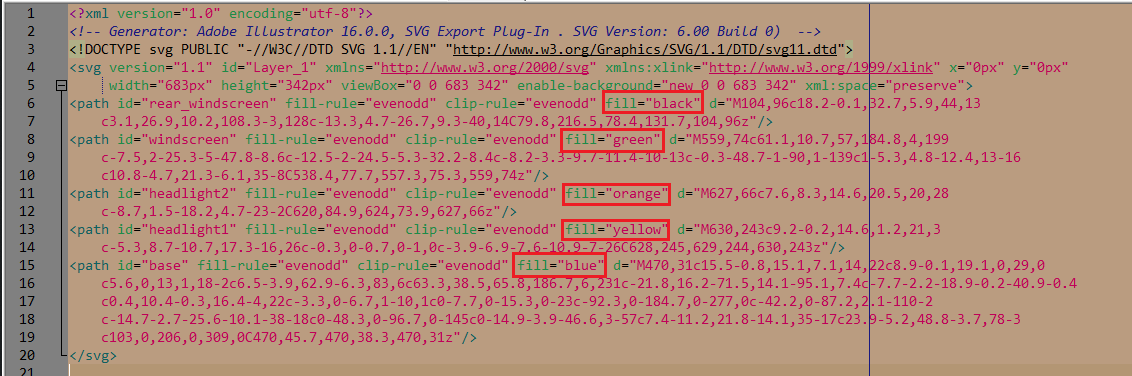 Make sure to re-order the larger elements to the top, otherwise the elements they are covering will not be visible. Save the changes.
Finally, open the file in a browser and view the new colours.